Here’s How to Capture a Sunset
Lights, camera — wow.
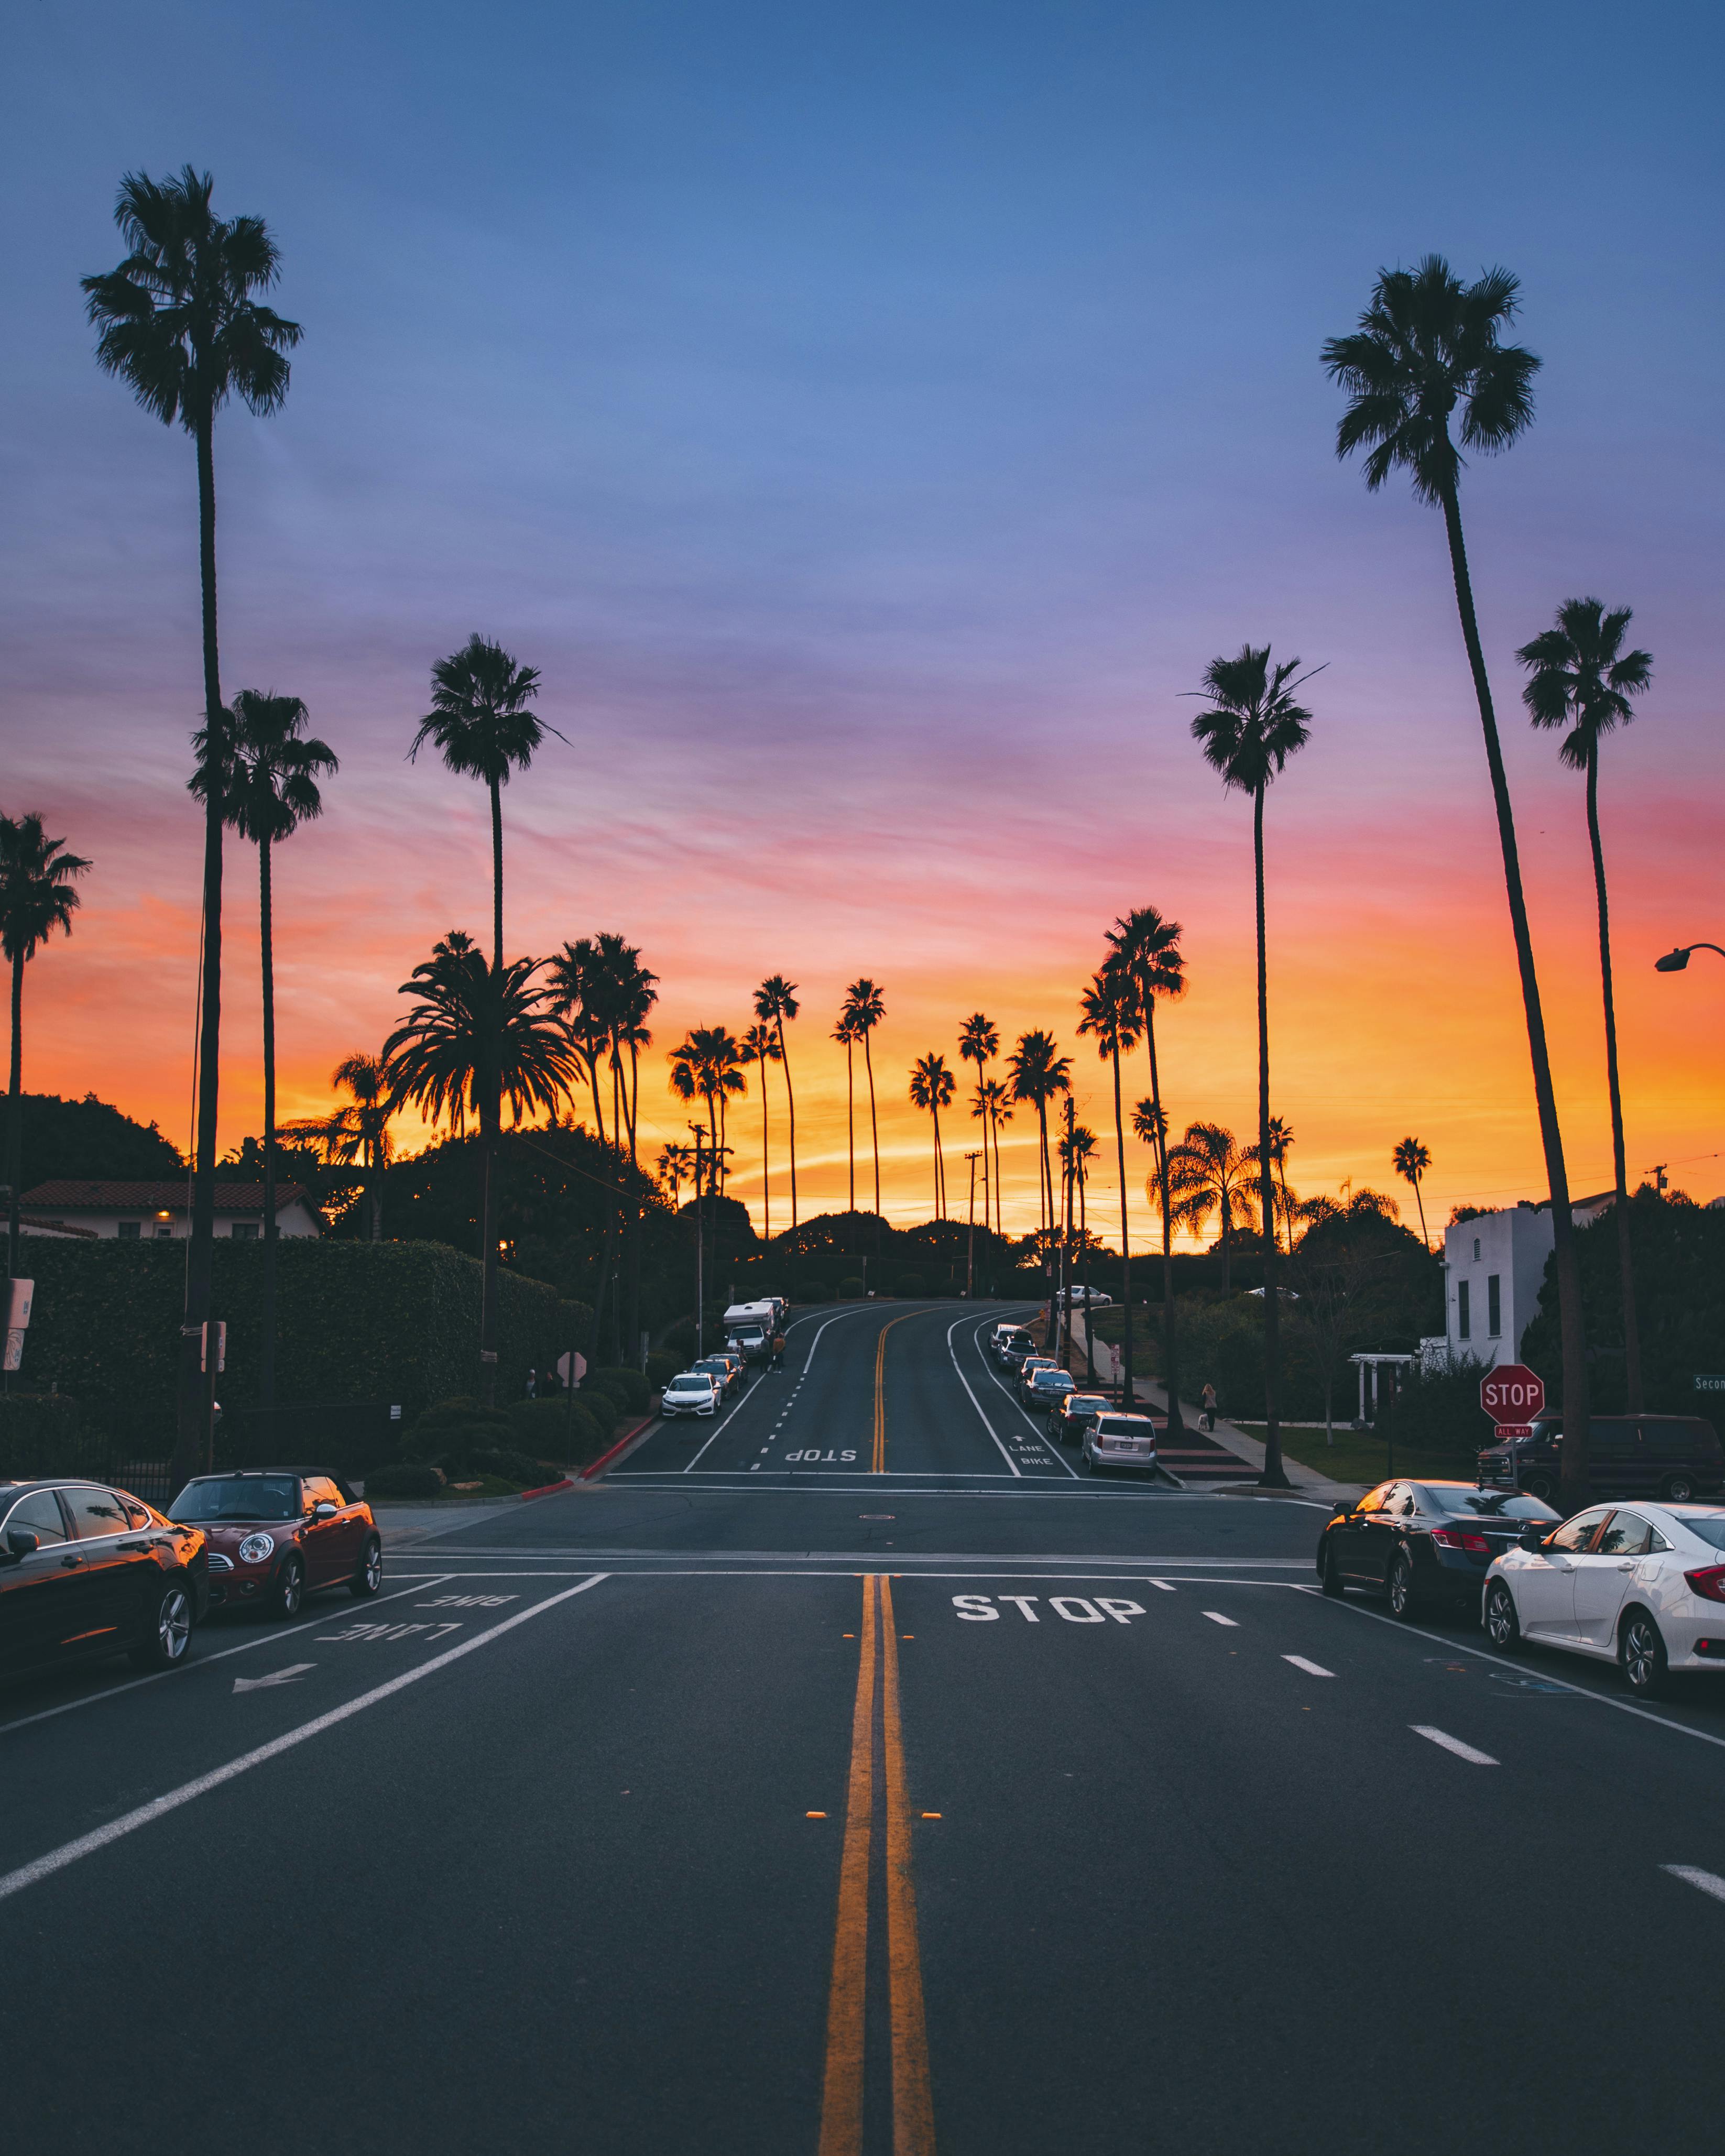
credit: @uwo — discover this location on the Explorest app
Most things are better seen IRL
Some things — breathtaking sunsets, especially — are worth capturing for rainy days when you need a mood boost. That stunning pink and orange sunset you peer out your balcony to catch a glimpse of? It can look even better in HD, if done properly, of course. Whether you’re doing it for the ‘Gram or just for personal memories, follow these tried-and-tested tips to ensure that the sunset you’re capturing on your phone or point-and-shoot camera looks as eye-catching on the screen as it does in front of your eyes. And remember: All good things — Instagram pictures, included — take time, so start practicing ASAP. Lucky for you, the sun sets every single night, which means you have 365 opportunities this year alone. Here, we rounded up the best tips for capturing a sunset (the right way).
Stand as still as possible
Although cameras and smartphones have come a long way, they still have some work to do in darker environments. To adjust to darker settings, cameras rely on longer exposure times. The problem: if you shake, move, or even flinch while trying to snap a pic, it’ll come out blurry. The best way to guarantee a steady shot is to plug in your headphones (sorry, team AirPods) and take the picture using the adjustable volume button. With this method, you’re less likely to disrupt your photo by tapping your phone.

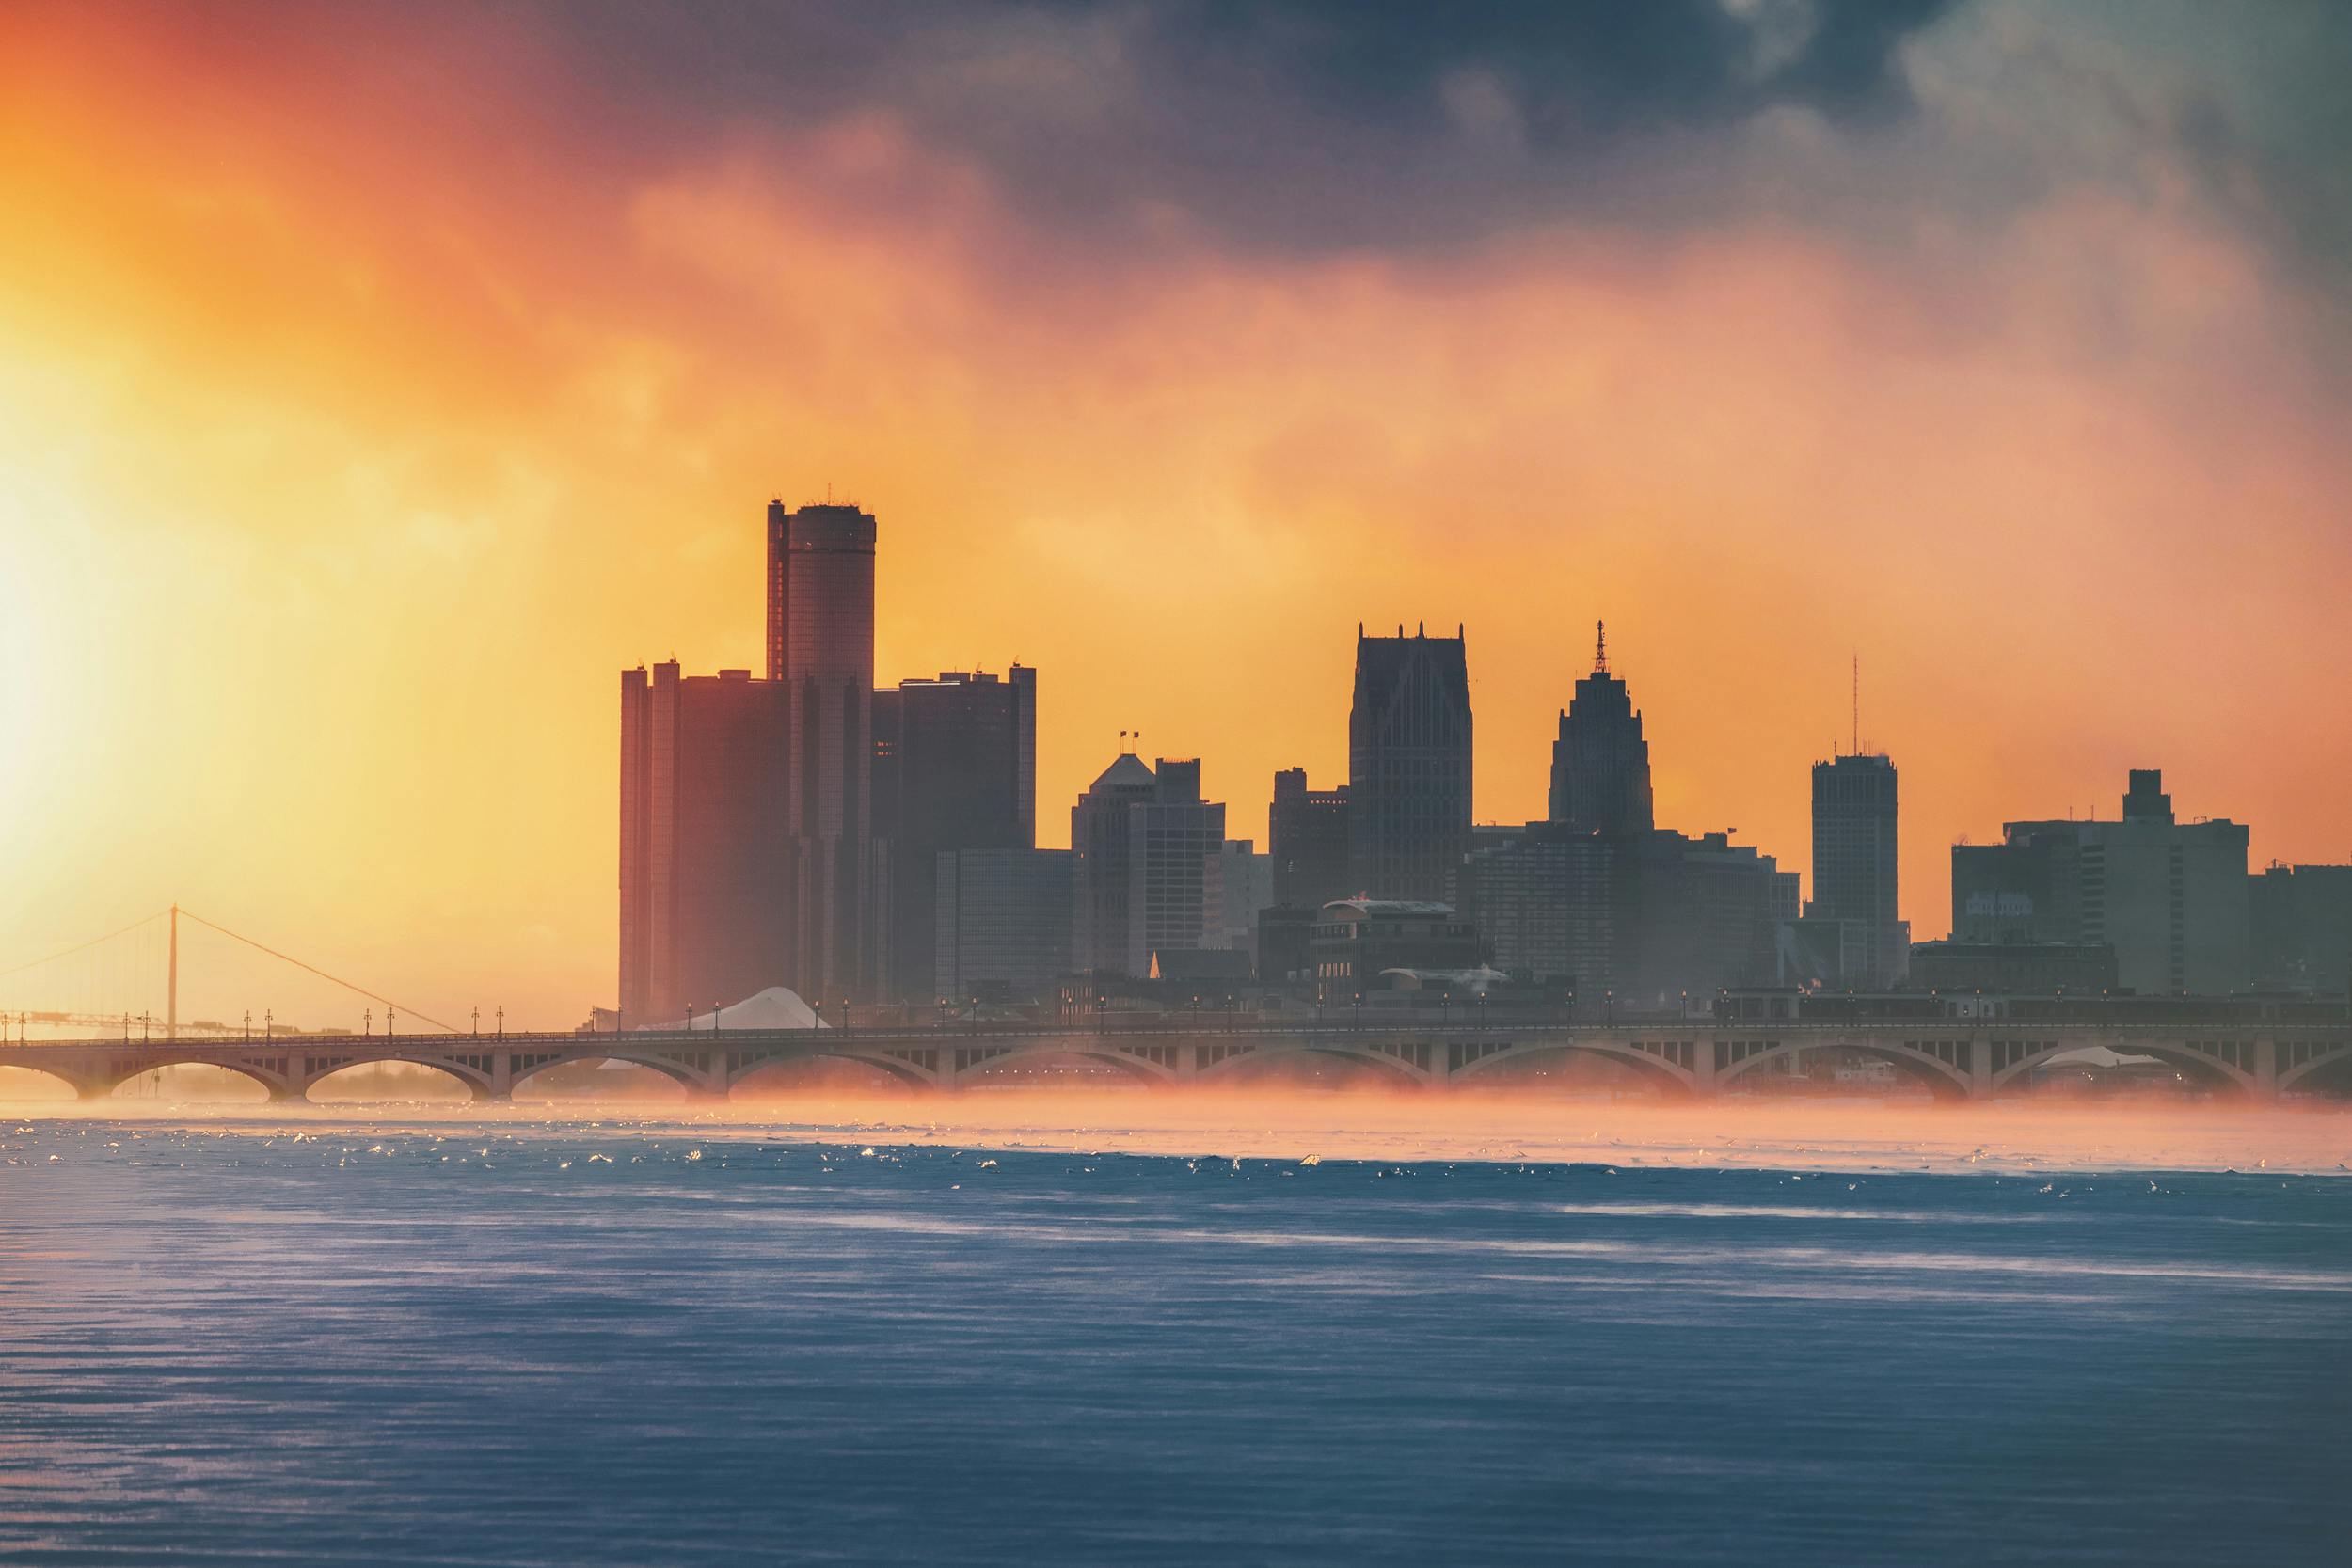
credit: @erubes1 — discover this location on the Explorest app
Pretend zoom doesn’t exist
Sure, in some cases, your phone or camera zoom feature is a godsend. Ya know, like when you’re trying to get a close-up shot of Taylor Swift from your cheaper-than-cheap nosebleed seats. But if you’re attempting a sunset picture, skip zoom altogether. Using digital zoom uses less of your imaging sensor and throws off any stabilization, often times leaving you with blurry, unfocused pictures. Plus, who doesn’t love a panoramic sunset view?
Turn off your flash
Unless you want a totally washed-out photo, turn off your flash, including auto flash. By using flash, you actually wash out the foreground of the photo and leave the background severely underexposed.
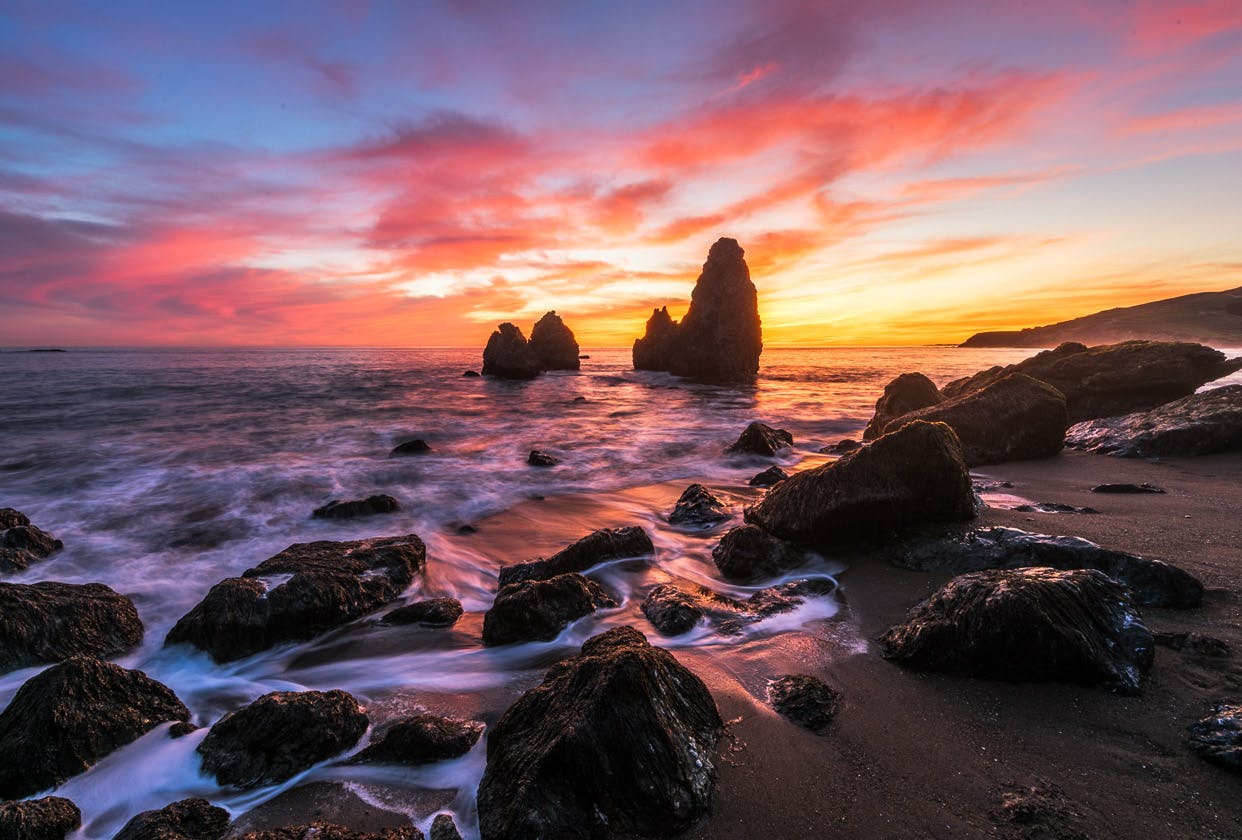
credit: @camera_jesus — discover this location on the Explorest app
Enable the gridlines
Wait, what? If you didn’t know this iPhone feature existed, you’re not alone. In your phone’s Settings, go to Photos & Camera and switch on the Grid. This allows you to see how symmetrical your photo is before you take it — remember the rule of thirds? Of course, you can always easily rotate, flip, or crop your photo once it’s taken if you forget.
If you’re using an iPhone, turn on HDR
Those three small letters that appear when you’re trying to take a pic? Pay attention to ‘em. HDR a.k.a High Definition Resolution actually takes three different photos — normal exposure, slightly under-exposed, and slightly overexposed — at once. Right before your eyes it layers the three pictures together to get optimal quality, complete with highlights pulled from the bright image and contrast from the darker image.
credit: @michaellaxphoto — discover this location on the Explorest app
Take advantage of exposure (AE) and focus (AF) features
It makes no difference whether you’re using a phone or point-and-shoot camera. Most old-school cameras have auto-focus and the exposure can easily be adjusted per the device’s instructions. On phones, simply open the camera app and tap around the screen until the correct object is in focus (in this case, it’s the illuminated evening sky). You can also lock your focus and exposure by holding your finger down on the desired exposure point.
Bust out the equipment
It’s important for everyone to recognize their weaknesses. If yours is a shaky hand, then consider using a tripod (or selfie stick, if you’re in a pinch) to guarantee a clear shot. Eventually, this equipment may inspire you to get creative with time lapses and panoramas. But first things first…
Most importantly, practice, practice, and practice some more
Rome wasn’t built in a day — and neither were your photography skills. Because of the dim (yet beautiful) lighting, sunset photos are particularly tricky. Even when your radiant views look like a blurry mess, don’t lose hope. By familiarizing yourself with all the tools at your disposal — HDR, gridlines, and tripods! — you’ll have an Insta-worthy shot in no time. And trust us, you’ll feel way more accomplished after a few failures. Shh, we won’t tell.